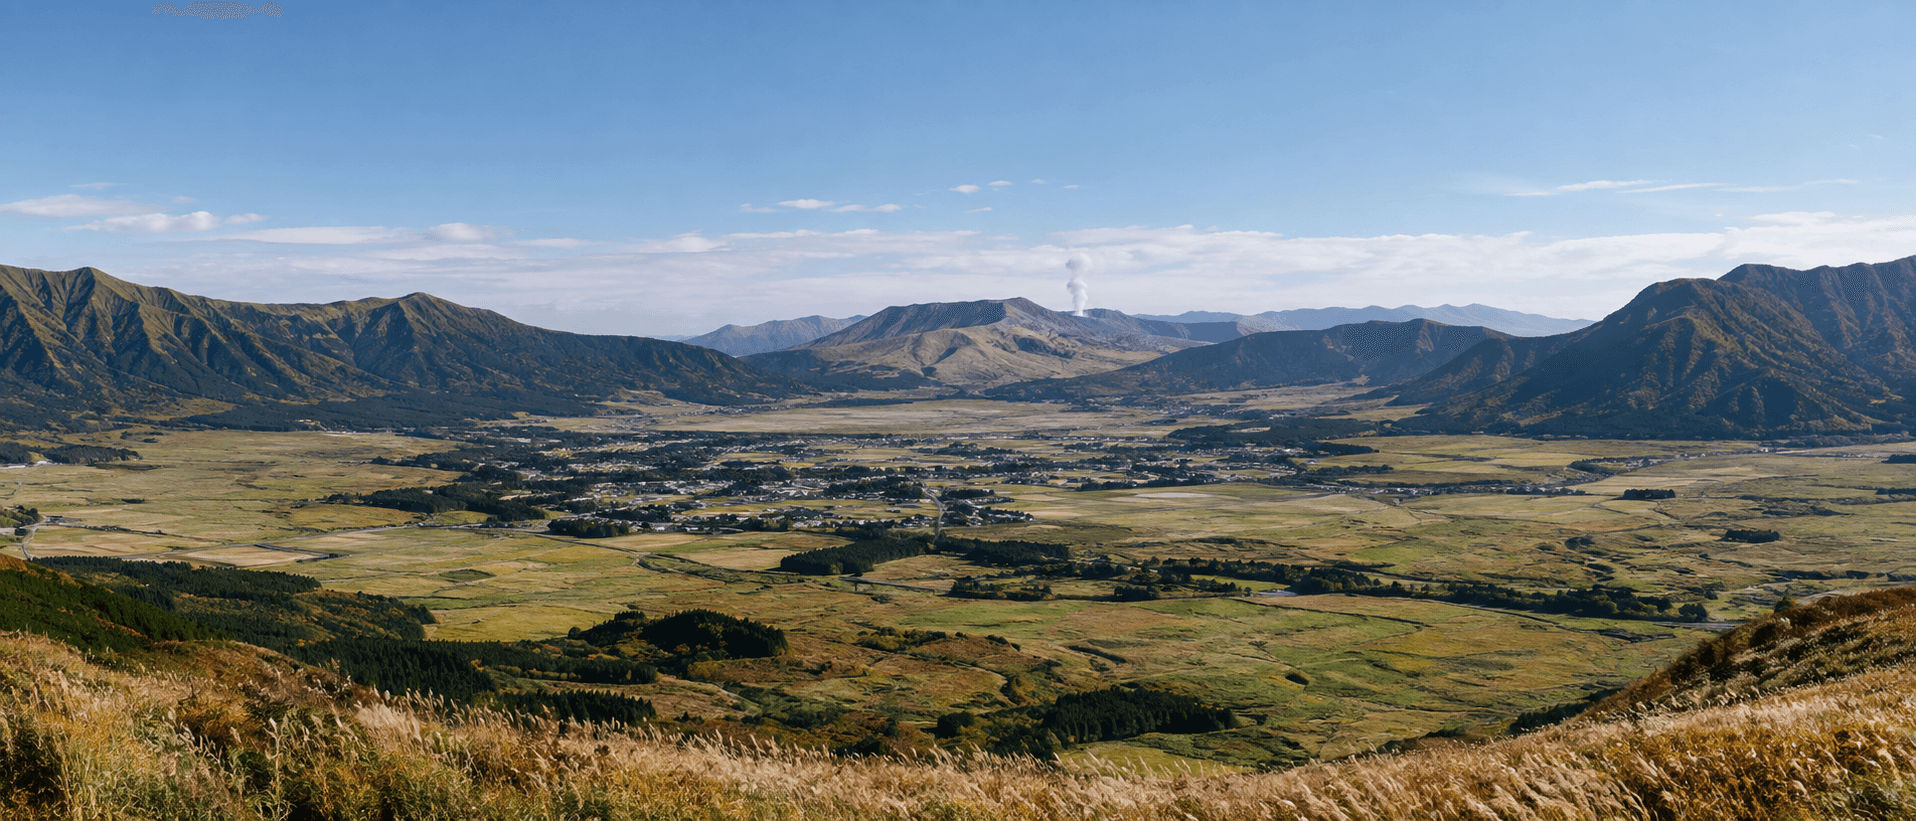
A day around the Aso caldera changes completely with the volcano alert level. In the sources collected for this guide, Mount Aso stood at eruption alert Level 3 in late August 2026: an area within about 2 km of the Nakadake First Crater was restricted and the crater shuttle was suspended. The answer below sorts into how to check the level before departure, which lookouts stay open when the crater closes, and how to order a rental car versus public transport route.
Where to check the alert level before you go
Three channels narrow the check down. The Aso Volcano Disaster Prevention Council website and local tourist information centers provide the activity level and restricted-zone information, and tour product notices also stress that crater access can close without prior notice for safety. The council notice says access depends on volcanic gas levels and weather, and tells you zone by zone that areas with blinking red lights are off limits at that moment because the gas is strong there. Another summary has the crater rim road open and close with the Japan Meteorological Agency (JMA) alert level, closing at Level 2 or above.
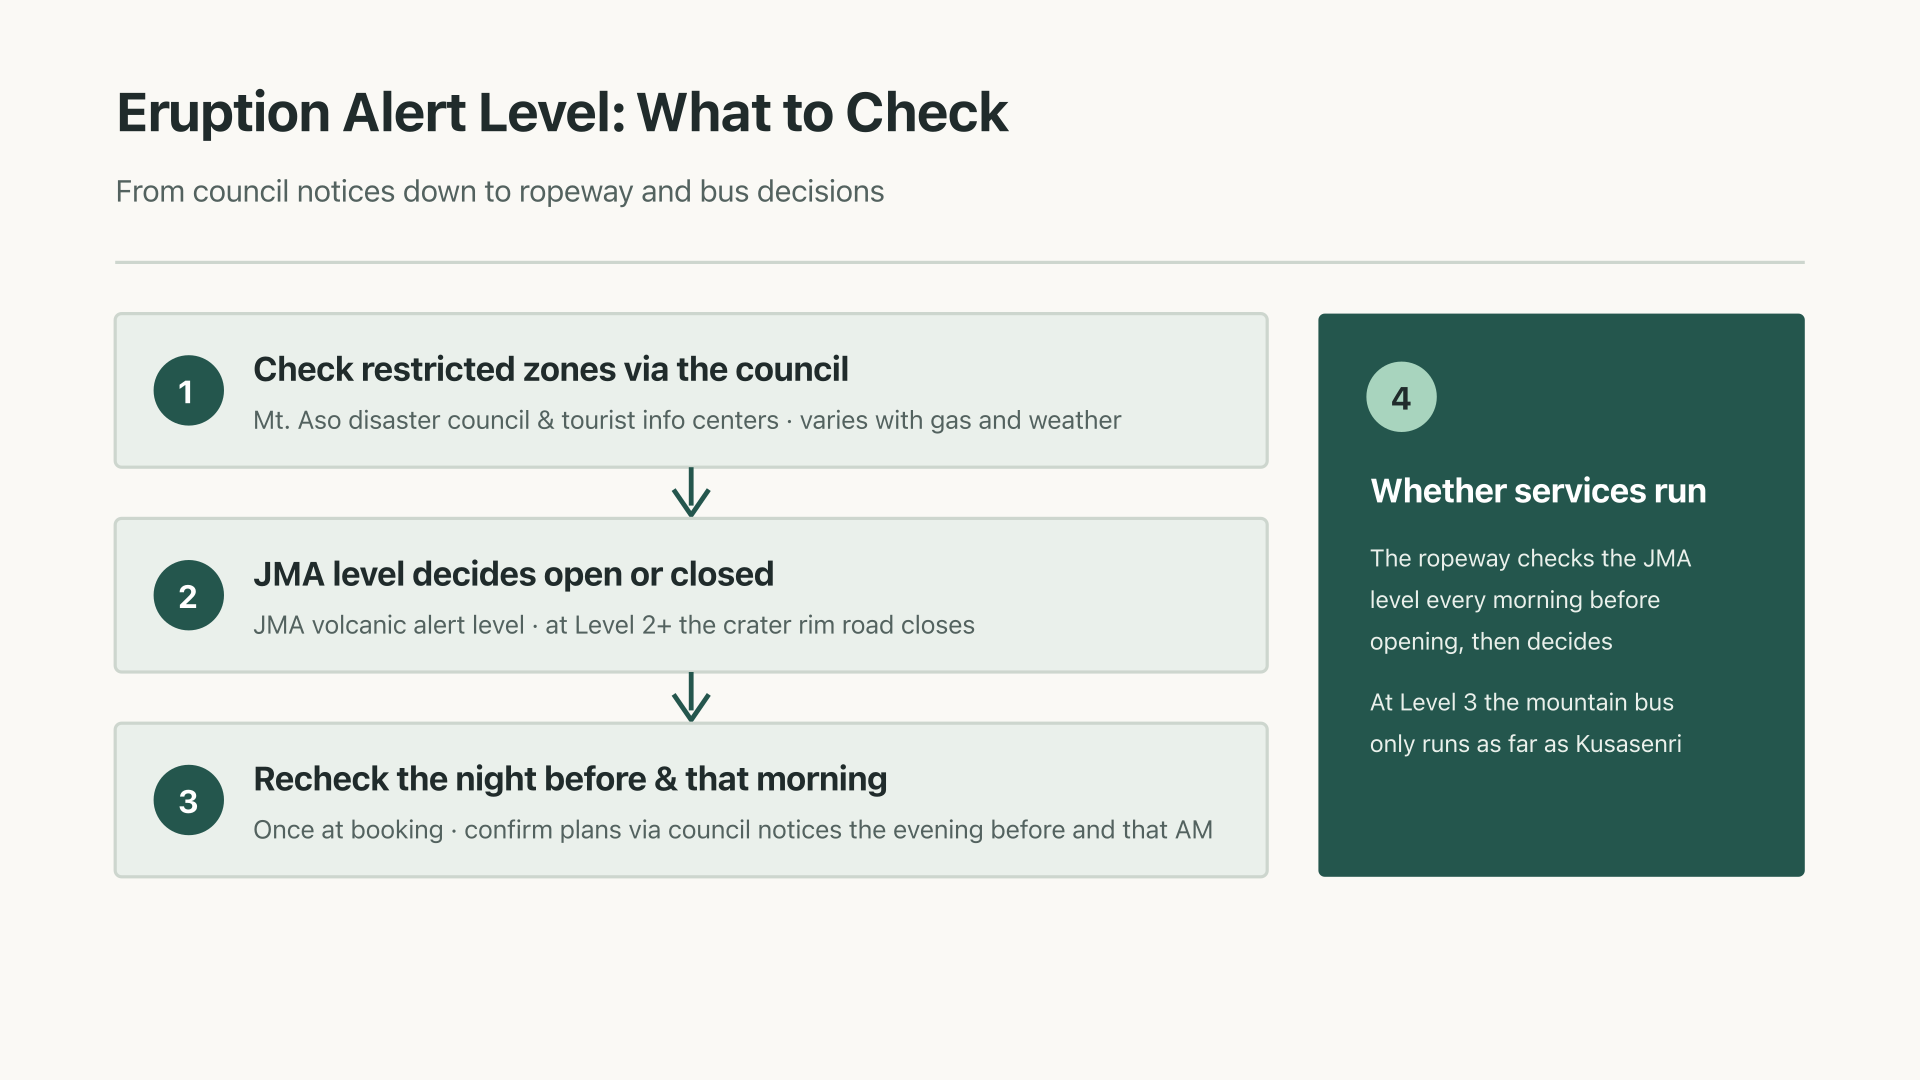
Operators follow the level too. The Aso Ropeway operator says it cannot decide whether to run until the JMA announces the eruption alert every morning before business hours. The Aso Volcano Museum and the summit visitor center are also mentioned as counters to ask for the latest information. A realistic routine: open the council notice once when you book a room, again the day before departure, and once more on the morning of the trip. Even when the crater area is open, some days have strong gas, so keep the guidance that companions with respiratory problems should refrain from approaching the crater.
How far you can go when the crater is closed
As of late August 2026 the official notice stood at Level 3: an area within about 2 km of the First Crater was restricted and the regular mountain bus ran only as far as Kusasenri. Even after the level drops to 2, the Nakadake First Crater viewing platform, roads around the crater and some hiking trails remain on the restriction list. In the accessible column, Kusasenri and the area around the Aso Volcano Museum, Aso City and Aso Station, Aso Shrine and the Monzenmachi shopping street, and Daikanbo and other outer-rim lookouts are on the Level 2 open list. A separate write-up adds that lower trails on the mountain remain open at Level 2 even with the summit crater closed.
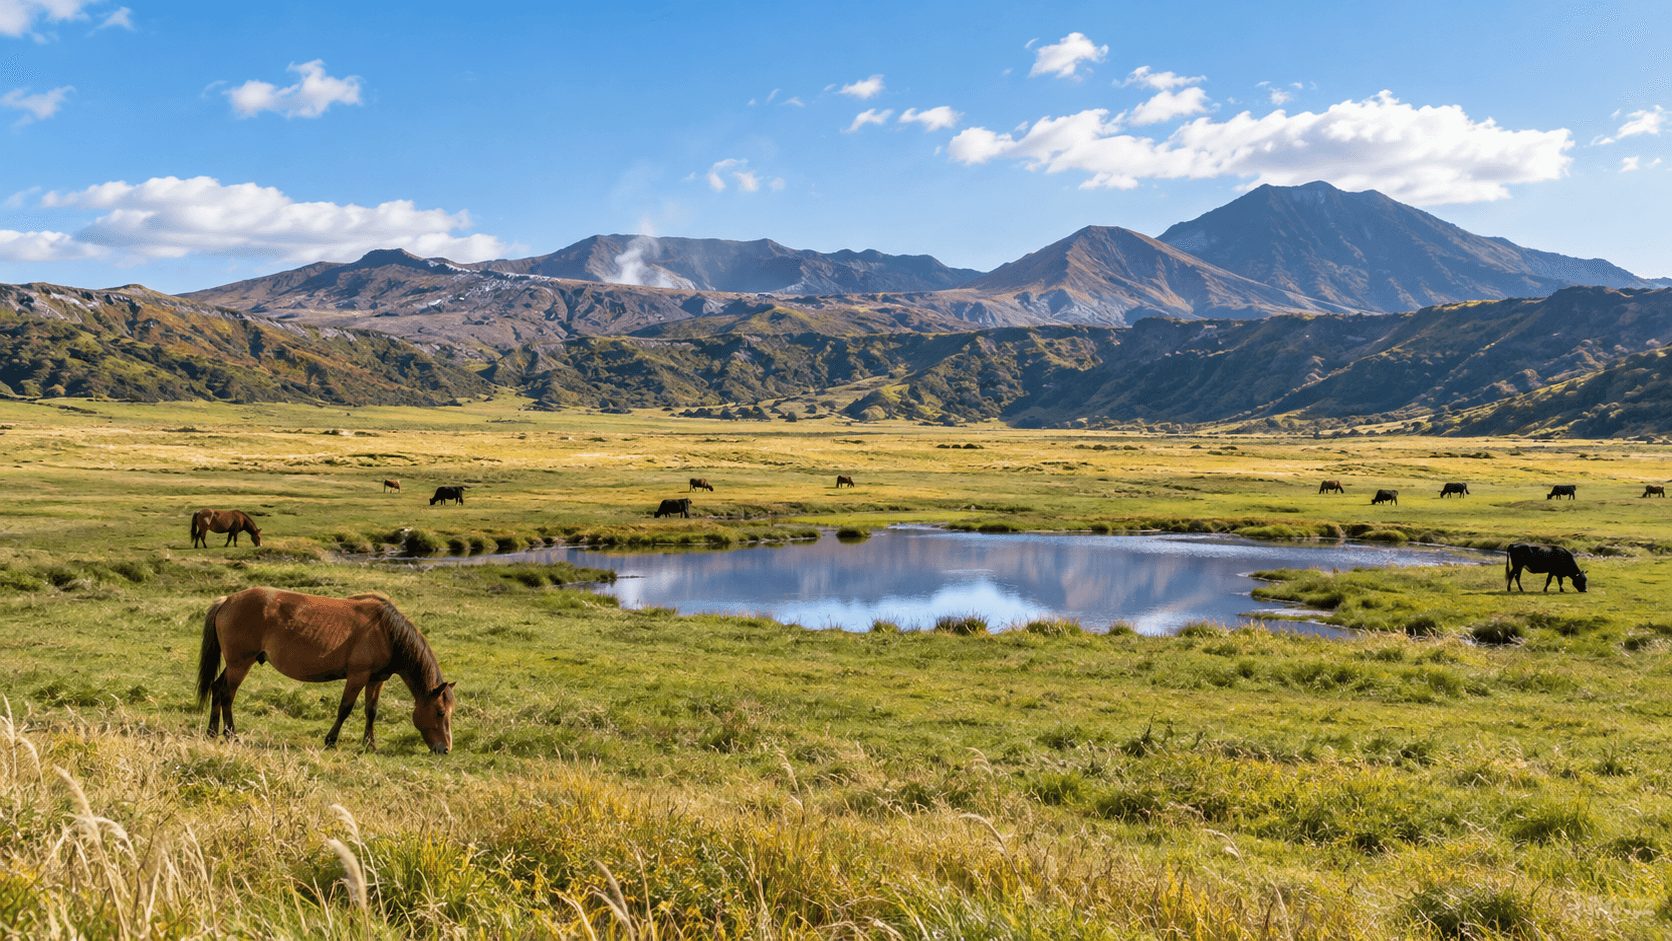
The crater area is divided into zones. Per the council notice, Zone B-1 is the best spot to view the bottom of the active crater, Zone B-2 also shows the crater bottom, and Zone D is an observation deck without a view of the bottom. When Zone E, which admits only a special bus, opens, the toll road to the crater and Zones B-1, B-2, C and D all close. On a closed day the alternative is clear. Watching the steaming Nakadake from the Kusasenri grassland and reading the whole caldera from Daikanbo keep the Aso scenery intact. Sensuikyo Gorge on the eastern side of the caldera is introduced for autumn foliage, which makes it a reasonable addition to a backup route.
Material checked in September 2026 introduces Mount Aso as an active volcano with a huge caldera about 25 km east to west and about 18 km north to south, and gives 30–60 minutes at the crater viewing platform and 40–60 minutes for a Kusasenri walk as typical allocations. A schedule that still works without crater viewing is the safer allocation to pick.
Rental car routes and road conditions
For access from Kumamoto, guides favor driving over the railway because the crater area and Daikanbo sit well off the train line, which makes a car-based loop the stronger plan. Rental outlets are few inside the Aso area and cluster in Kumamoto City and at the airport, so fixing the drop-off location on the booking screen in advance keeps the day simple. One operator guide gives about 40 minutes by car from Kumamoto IC and Aso Kumamoto Airport to the Minami Aso side inside the caldera, so driving in straight from the airport also works (checked September 2026).
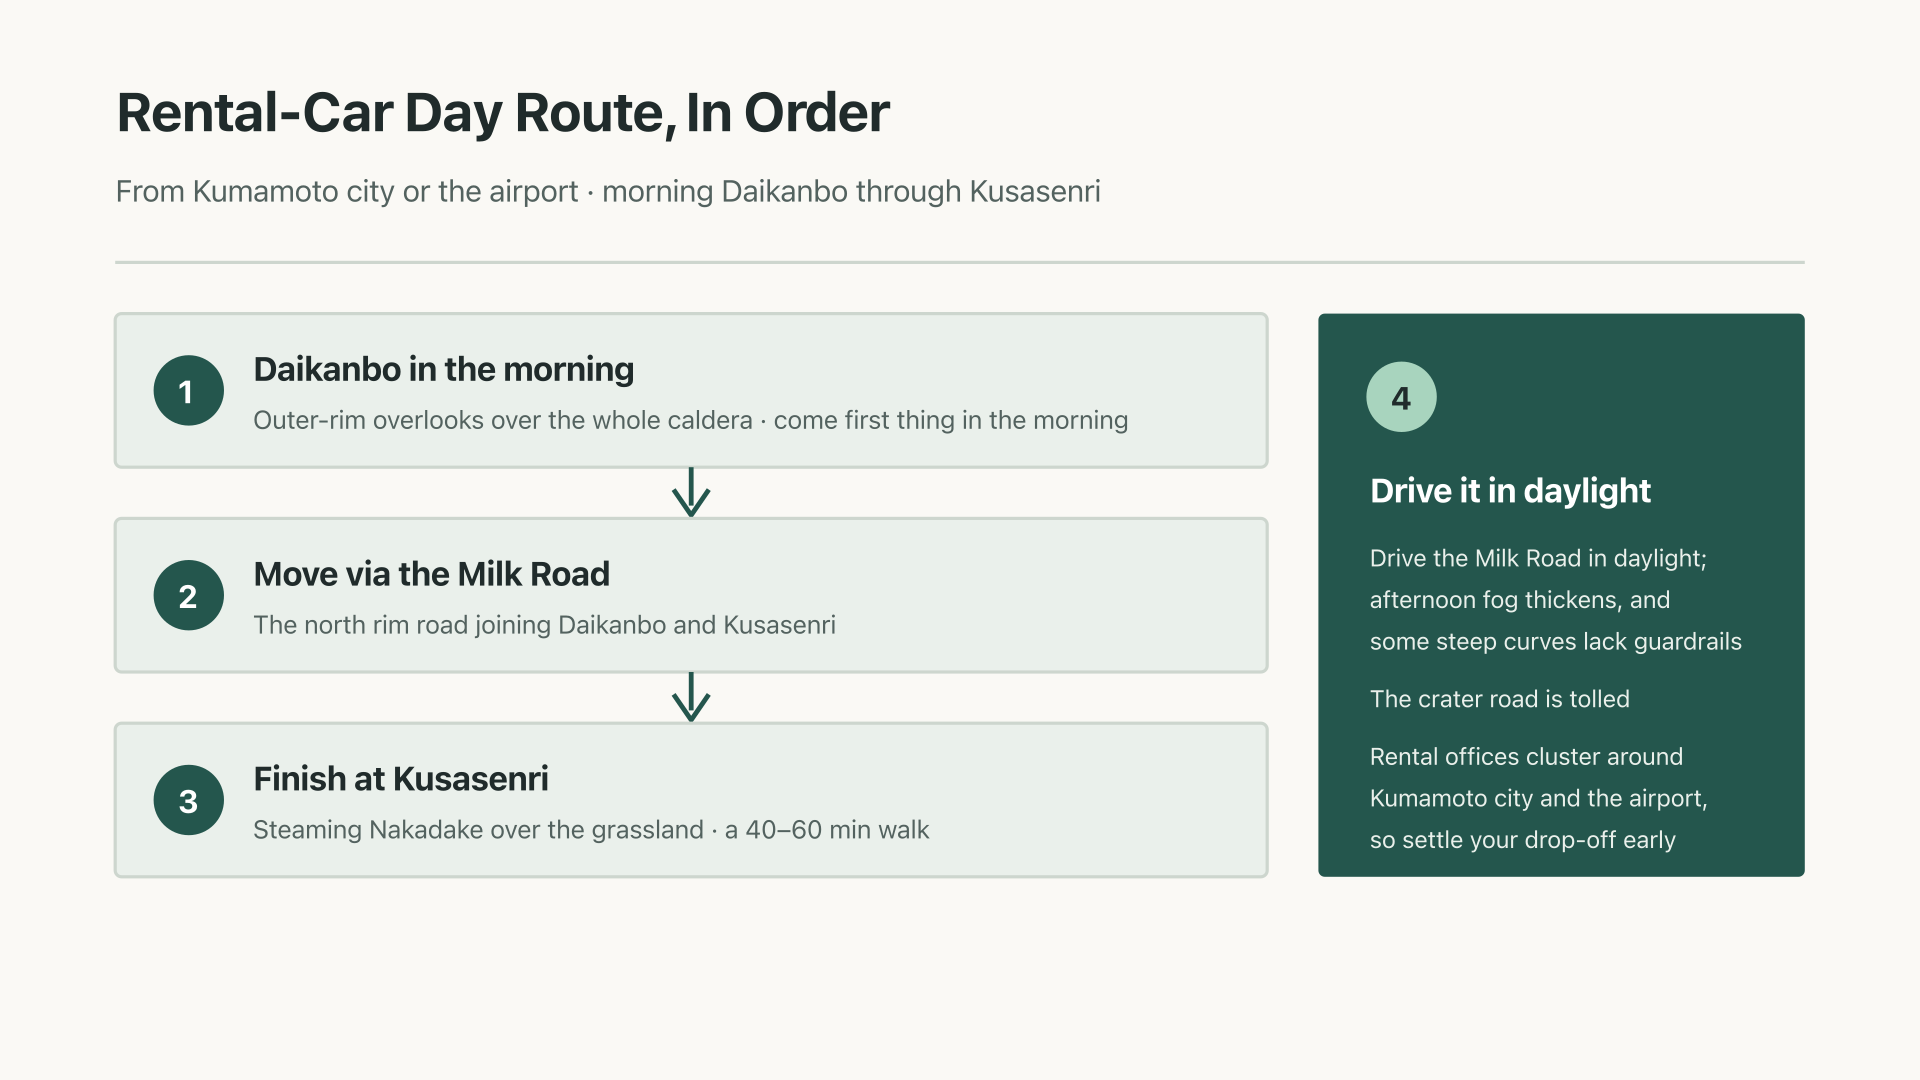
The key section is the northern rim. The Milk Road linking Daikanbo with the Kusasenri plateau is described as strictly daytime driving; mist thickens fast in the afternoon and some of the steepest bends have no guardrails. The sequence proposed as the standard strategy is to stop at Daikanbo in the morning and follow the Milk Road down to Kusasenri. The road up to the crater is a toll road.
Conditions change with the season. A February 2026 driving report describes driving up toward the crater in morning fog, meeting the off-limits notice and dropping down to Kusasenri; at the roughly 1,100 m elevation mark the display showed 0 °C with strong wind, and the writer says it felt colder still. For winter and early spring drives, a windproof jacket and gloves become genuinely necessary gear.
| Mode | Start from | How the day moves |
|---|---|---|
| Rental car | Kumamoto City and airport | Morning Daikanbo, then the Milk Road down to Kusasenri; daytime driving |
| Aso Station + bus | JR Hohi Line, Aso Station | Transfer to the bus bound for Kusasenri/Asosanjo; services are infrequent |
| Kyushu Odan Bus | Beppu, Yufuin, Kurokawa | Reservation-based, so secure seats to match the schedule |
| Shared bus tour | Kumamoto City and Fukuoka | Bundles Kusasenri, Aso Shrine and Kurokawa into one day; substitution applies when the crater is restricted |
Can you do it without a car
Yes, but every guide flags the same thing: services are infrequent. The basic route gets off at Aso Station on the JR Hohi Line and transfers to the bus bound for Kusasenri/Asosanjo; from Beppu, one guide runs the Hohi Line to Aso Station and continues by bus. The Kyushu Odan Bus linking Beppu, Yufuin, Kurokawa Onsen, Aso and Kumamoto is reservation-based, so seats need to be secured first.
Shared bus tours leaving Kumamoto City bundle Kusasenri, Aso Shrine, Daikanbo and Kurokawa Onsen into a single-day itinerary, and the product notice states that the tour proceeds with substitute sightseeing when gas or similar causes restrict crater access and viewing. Because the product is shared, stops outside the designated sights are not possible and withdrawal midway is not refunded, so read the conditions before booking. Sightseeing taxi courses based at Aso Station also exist; the stated conditions are a large same-day cancellation penalty and toll and parking fees borne by the passenger.
Without a car, a Fukuoka day tour is the alternative for bundling Aso from Fukuoka, and the Aso Boy! sightseeing train, designed to show the Aso scenery from panoramic seats, is the pick for enjoying the rail ride itself. Fukuoka city to Aso is a long round trip, and one guide advises an early start with the route kept simple.
Summing up
By car, the base plan is morning Daikanbo, the Milk Road and Kusasenri, wrapped inside daylight hours. Without a car, the Aso Station transfer is the base, and with infrequent services the Kyushu Odan Bus or a shared tour is the surer way to bundle the day. The alert level decides crater viewing, so settle the schedule with the council notice the day before departure and on the morning itself.
Images are examples to aid understanding. Last checked: 2026-09-13
Sources & verification
A source-based guide. Check the linked operator information again before you travel.
- Aso Volcano Disaster Prevention Council, Aso volcano information and crater accessSources checked:
- Aso Volcano Disaster Prevention Council, eruption alert Level 2 noticeSources checked:
- Japan-guide, Mount AsoSources checked:
- Japan-guide, Aso area access and rental carsSources checked:
- Japan Activity, Aso itinerary guideSources checked:
- Japan Activity, day trips from KumamotoSources checked:
- Sanko Bus, Aso area bus accessSources checked:
- JR Kyushu, Aso Boy! sightseeing trainSources checked:
Illustrations are examples to aid understanding, not photographs taken on site. Actual photographs have separate source credits.
Help us keep this note useful
A quick response helps us decide what to clarify or recheck. No account or email is needed.